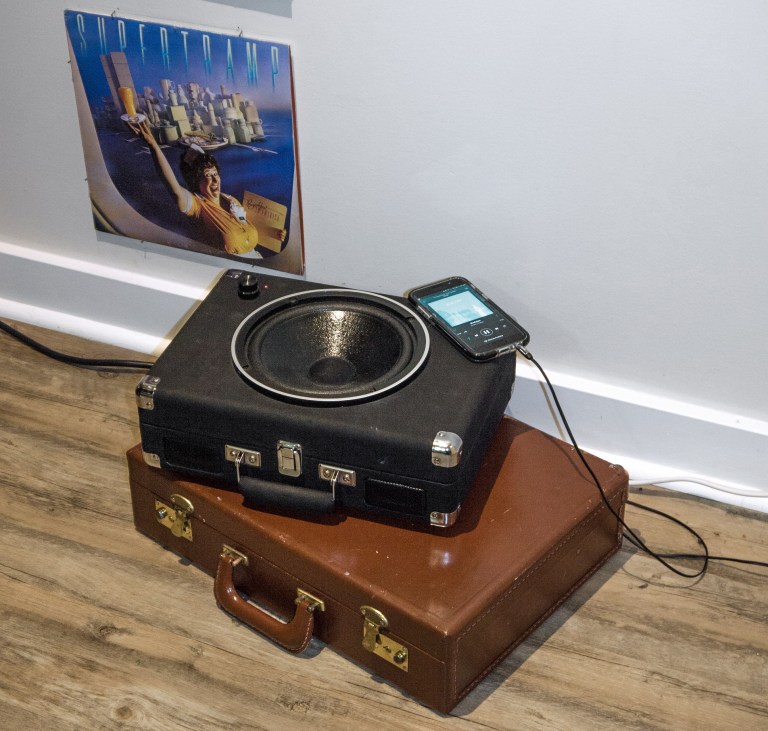
Hello and welcome back to another installment of Basement Builds. I apologize for the long hiatus but it turns out moving across the country can be quite an ordeal. Now that things are settled I am back at it again with another exciting build for you! I call this one the Briefcase Boombox and it has been by far my favourite project. I got a little excited while working so I may not have all the best pictures of the progress; but worry not, there will be more iterations of this project. I am planning the next Briefcase Boombox to be rechargeable with Bluetooth capabilities, and the one after that to function as a Guitar Amplifier.
To begin I would like to briefly explain the motivation behind the first prototype of the Briefcase Boombox. If you’re anything of an audiophile like me you likely got yourself into record collecting with everyone’s first record player, the Crosley Cruiser Delux Portable Turntable, only to realize that the superior sound quality of vinyl is negated by the Crosley’s tiny tweeters. Upon realizing that the built-in speakers are completely useless you went out and bought a better record player and now have this Crosley collecting dust. Well I have great news for you! The crappy Crosley portable turntable can be upcycled into a super cool Briefcase Boombox that will have all your friends jealous of your dope décor.
WHAT YOU’LL NEED:
- Crosley Cruiser Deluxe Portable Turntable that you regret buying
- Speaker cabinet that is unnecessarily large with cones you can remove
- Soldering equipment (Check out the Links tab for help soldering)
- Drill
- Handsaw
Step 0: Obtain a Better Speaker Cone
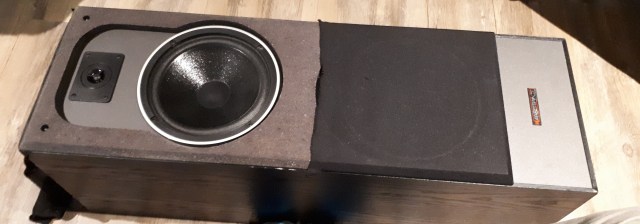
Speaker Cabinet; Mid Operation

à la VV Boutique (Value Vilage)
I’ve had the idea for this project for some time but no real way to execute it until I went Halloween costume shopping at the Value Village. There I found an old cabinet speaker for only $4 and that seemed like a good deal to me. Praying that the speaker cones were still functional I bought this thing and brought it home to tear apart. For this build all I ended up using was the main speaker but I kept the tweeter and all the wires as well to use on future builds.

Cabinet Haul; Tweeter is in a bag to keep the parts together (the apparent sub was fake).
Step 1: Remove the Turntable

Crosley Deluxe Guts
The first step was taking apart the Crosley to understand how it works and which parts can be reused. Once you’ve got the top off I would recommend holding on to it as most of those parts can be used in case your main turntable has any problems. Underneath the hood we can see how everything is connected and it is fairly clear what each of those connections are doing. Given that we are removing the turntable aspect of this case we can also remove the wires attached to it to clean things up a little.
Step 2: Remove Volume Control Board
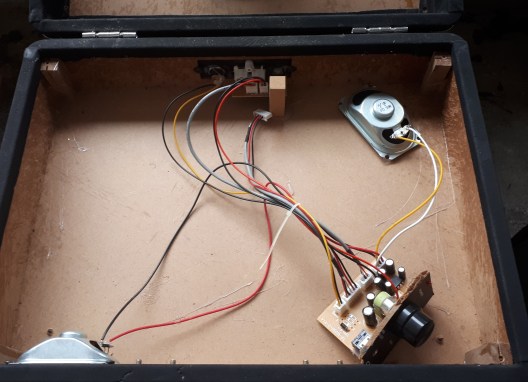
Take what you can; give nothing back
We are going to want the circuit board with the volume knob on it so make sure not to disconnect any of those wires. This board is just glued down so it can be removed with a bit of care. To make things easier on myself I used a small handsaw to cut the section of wood that that board is attached to out but this is optional. In the image to the left I have also disconnected one of the tweeters because my original plan was to put the volume control in its place but that didn’t fit as well as I was hoping so the design changed. If you look closely you can also see a set of wires that are not attached to anything. These came from the Vinyl Input/Headphones Out. Hold on to these wires as they may be useful later.
Step 3: Cut a Hole

Marked for Extraction
With the case mostly empty I felt I could now safely cut the hole in the lid without damaging any of the good stuff inside. Be sure to measure twice and cut once so that you’ll have enough lid left to screw the speaker cone directly into the case. I made the hole by drilling a series of holes around the inside of my marking, connecting these holes with a small handsaw, and then sanding the edge until the speaker cone fit snugly. I recommend cutting a smaller hole than needed and sanding to size but you can cut to size if you’d like to skip the sanding. Just be careful not to cut too big.
Step 4: Affix the Speaker

Old Cone in a New Home
The box that the Crosley turntable comes in is thankfully sturdy enough to screw directly into without any reinforcement. Here I have the new speaker facing outwards so that the Boombox works best with the lid closed but you can have your speaker facing inward if you’d like. In fact, if you have the speaker facing inward there should be enough room left in the box that you can leave the record player aspect functional. Stay tuned for that basement build if I ever get my hands on another Crosley Cruiser Deluxe Portable Turntable.
Step 5: Wire the New Speaker

Don’t Miss the Mark; RED is +
Now that the speaker is in place it needs to be wired. There are two options here and you can take your pick. You can either use the main speaker to replace one of the tweeters or wire the main speaker in parallel with one of the tweeters. I took the leads off one of the tweeters to connect the main speaker but will likely reattach the tweeter I removed later. This may sound funny if your music is in stereo but I feel as though the majority of music these days is mono. To overcome the issue where the left channel is much louder than the right (or vice-versa) you can wire all three speakers in parallel.
Step 6: Reattach the Volume Control

Measure Three Times For This One
Now that everything is wired we need to put our volume knob on the outside. To do this simply drill a hole in the lid and affix the knob. You’re now done and can rock out to your super cool new Briefcase Boombox!
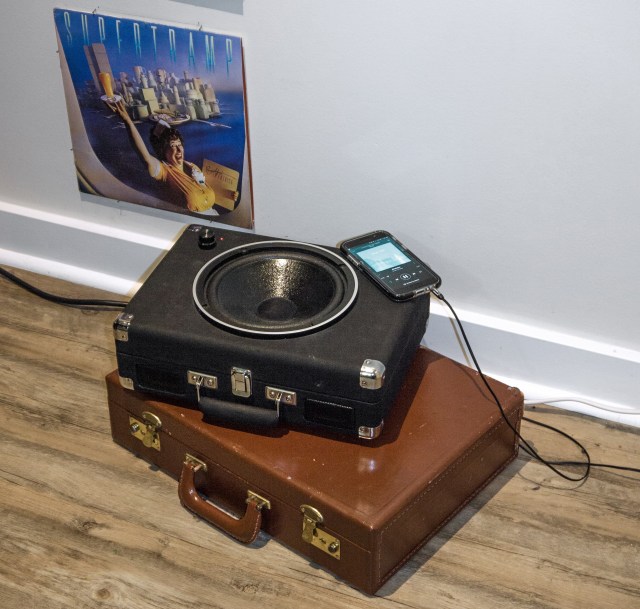
Looks Great; Sounds Better

Thats so cool!
LikeLiked by 1 person
Thanks Jake! Hope to see pictures of how yours turns out 😉
LikeLike